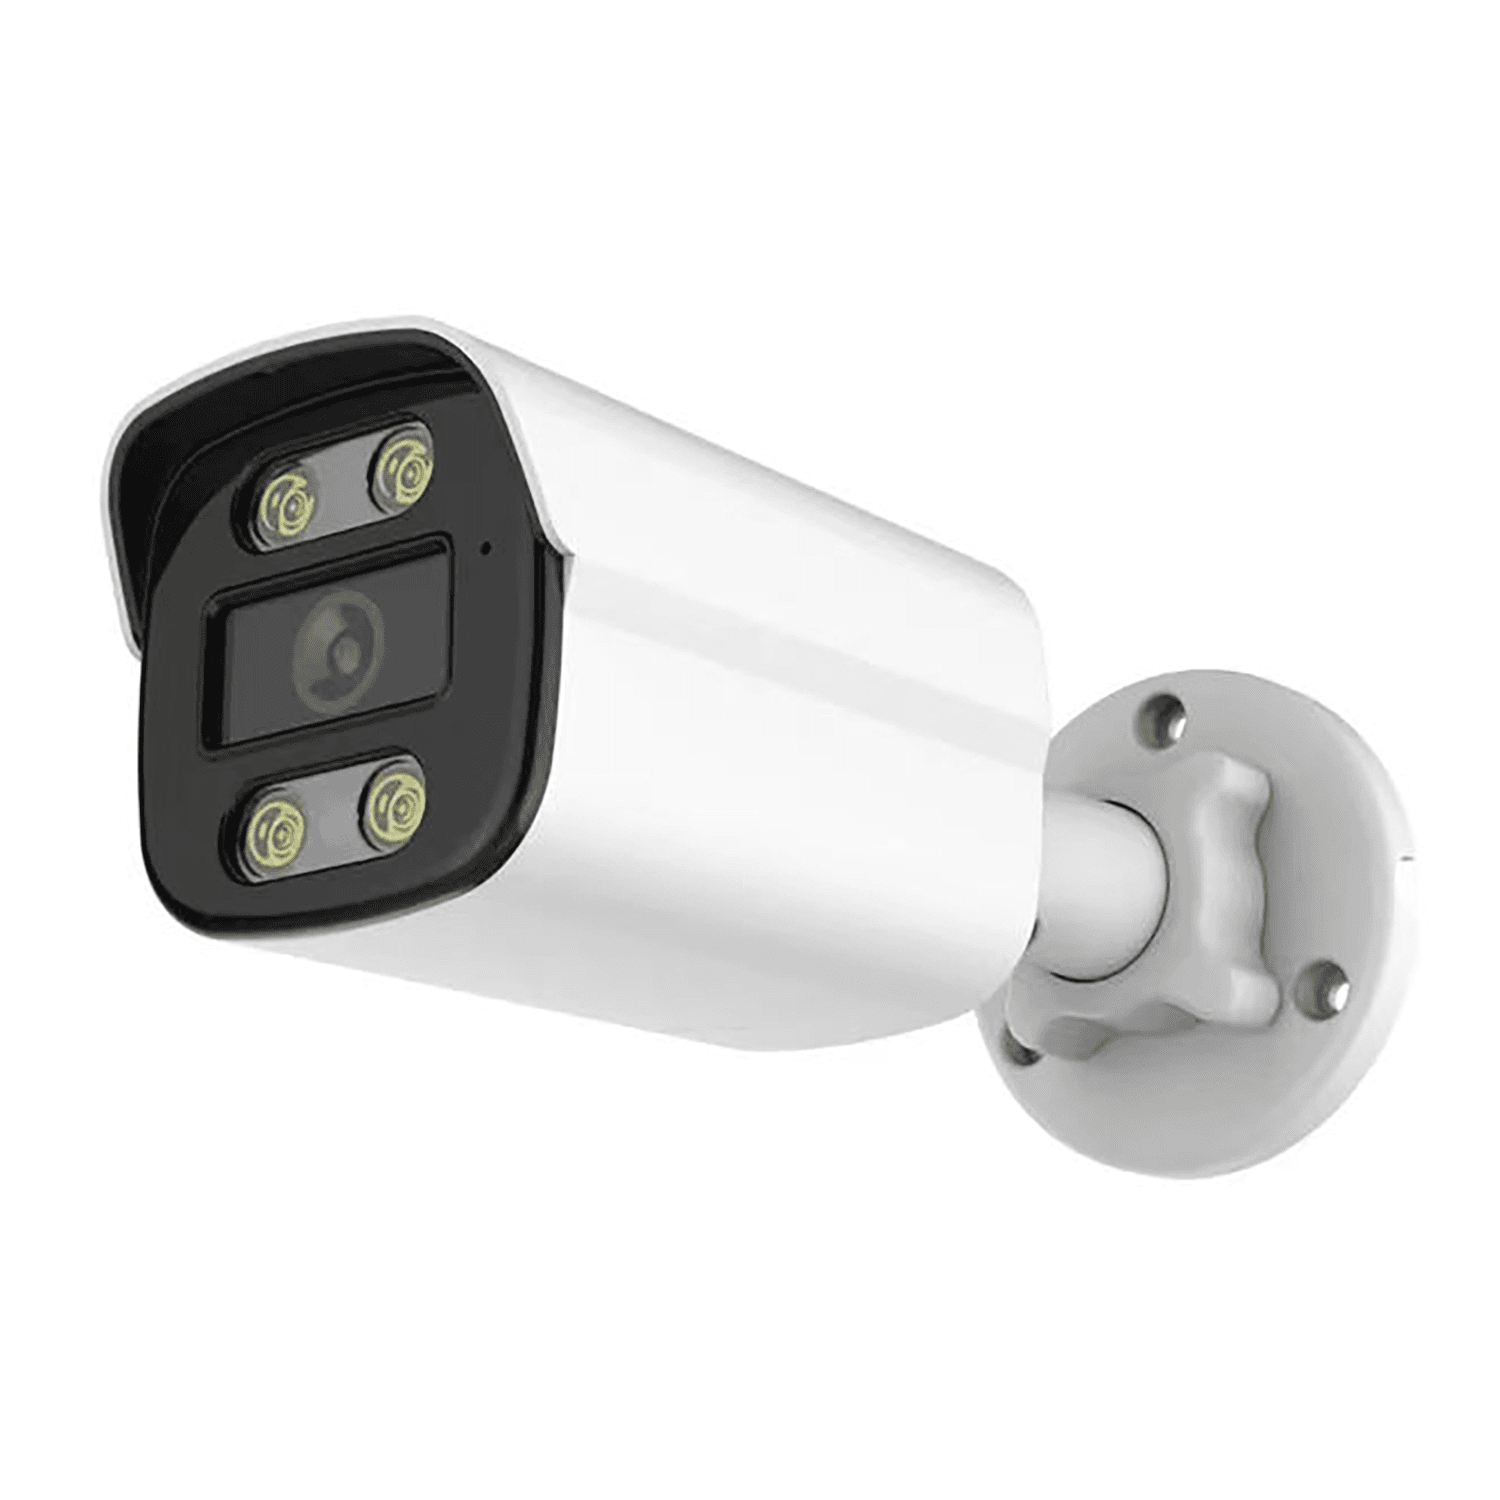
JBE-504B 5MP POE Bullet Camera product image

JBE-04B / Selected Configuration: JBE-504B

JBE-504B 5MP Bullet Camera

Compact 5MP POE bullet camera for wired surveillance projects in offices, retail stores, warehouses and commercial buildings.

  • 5MP video
  • Single-cable POE installation
  • H.265 video compression
  • 2.8MM fixed lens
  • ONVIF for compatible NVR / VMS
Ask About OEM Customization

Technical data

Technical specifications

Final values must be confirmed according to the selected model, app solution and project configuration.

Camera

Image SensorCMOS Sensor
Resolution5MP
Lens2.8MM fixed lens

Video

CompressionH.265

Network

EthernetWired Ethernet
POESupported
ONVIFSupported for compatible NVR / VMS platforms
Web / VMS / Mobile AppSupported

General / Packaging

App OptionXMEYE

Configurations

Available Configurations

ModelResolutionLensNetwork / POEAction
JBE-404BJBE-404B 4MP POE Bullet Camera4MP2.8MMYesView Configuration
JBE-504BJBE-504B 5MP POE Bullet Camera5MP2.8MMYesCurrent Configuration
JBE-804BJBE-804B 8MP POE Bullet Camera8MP / 4K2.8MMYesView Configuration
View all POE Cameras

PoE Camera Installation and Connections

All ports show functional connections only, not the rear-panel positions of any specific model. Check the selected camera, recorder, switch and power specifications before installation.

1. Direct Connection to a PoE NVR

  1. Connect each compatible PoE camera to a camera PoE port on the PoE NVR using an Ethernet cable.
  2. Connect the NVR LAN port to the router or local network. Connect a local monitor to the NVR HDMI output.
  3. Connect the specified NVR power supply. Check the PoE standard, per-port power and total power budget for the selected cameras.
  4. Configure and verify local recording. Internet access and the supported remote-access setup are required for viewing from outside the local network.

2. Connection via a PoE Switch

  1. Connect compatible PoE cameras to the PoE switch. A non-PoE IP camera needs its own specified power supply and an Ethernet data connection to the LAN.
  2. Connect the switch uplink to the router or LAN and connect the NVR LAN port to that same network. Follow the selected equipment documentation for the network topology.
  3. Power the NVR and PoE switch separately using their specified supplies. Connect the NVR HDMI output to a local monitor.
  4. Add compatible cameras to the NVR and verify recording. Confirm addressing, supported protocols, recording channels and the PoE power budget before installation.

Local recording and viewing on the connected monitor do not require internet. Remote viewing requires internet access and a supported, correctly configured remote-access method.

Direct Connection to a PoE NVR

Functional diagram: PoE cameras connect to NVR PoE ports; NVR LAN connects to a router, HDMI to a local monitor, and a separate supply powers the NVR.

Functional connections only; port positions are illustrative.

Private label sourcing

Need OEM / ODM customization?

Logo, packaging, firmware and project configuration options are available for distributor and OEM orders.

Bulk and project inquiry

Request a product quotation

Tell us about your market, project and required configuration. No retail pricing or shopping cart is used.

  • Bulk procurement
  • Sample testing
  • OEM/private label
JBE-504BGet Quote
JBE-504B 5MP Bullet Camera | JBCVISION